


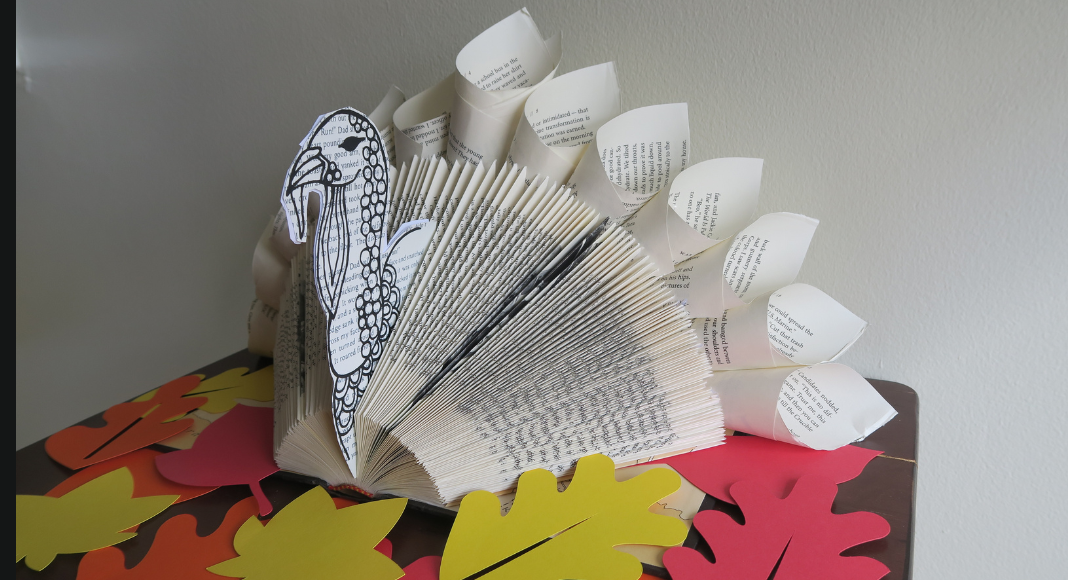
As autumn leaves begin to fall and Thanksgiving is right around the corner, it’s time to bring the festive charm into your home decor! If you have an old hardcover book lying around collecting dust, then let’s transform it into a cozy seasonal centerpiece. This DIY book folding turkey craft is a fun, upcycling project that adds a delightful touch to your mantle, entryway table, or holiday dinner table. Whether you’re an experienced crafter or looking for a fun holiday activity to try, this step-by-step guide will be perfect for you.
Grab some apple cider and let’s get crafting.
Materials Needed
- 1 Hardcover Book (6 inches or bigger width)
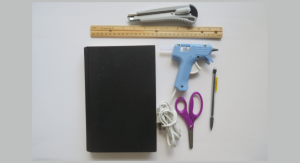
- Ruler
- Pencil
- Box cutter or X-acto Knife
- Hot glue gun or glue
- Scissors
- Printed Turkey Head Template
- Optional: Cutting mat
Directions
- Open your hardcover book to the first page. Measure halfway of the page and cut across widthwise. Use a ruler as a guide to make your cuts straighter. Also cut upwards along the spine to fully cut out the half pages. If you have a cutting mat, place it beneath 3 – 4 pages at a time to have your pages get a cleaner looking cut.
- Continue cutting all the pages in the book in half. Set aside the cut-out page halves, because you will need to use them to create the turkey’s tail feathers.
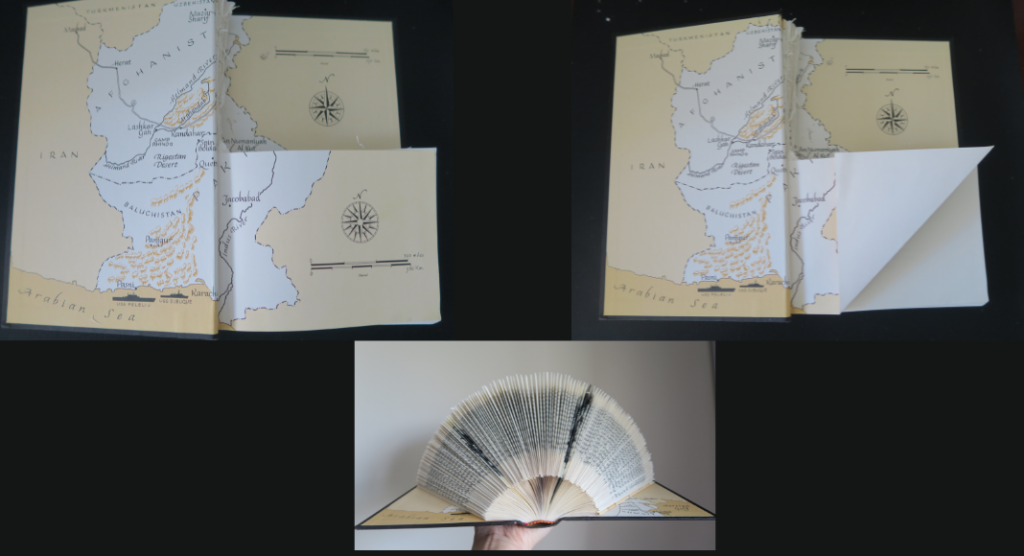
- Time to fold the body. Fold the bottom right corner up towards the center. Continue this same fold for every single page in the book.
- To make the tail feathers, grab the cut-out page pieces you set aside earlier. Roll each piece into a cone shape and apply some hot glue along the edge to secure it. I recommend making around 15 cones, but this will all depend on the size of your book and how full you want the tail to look.
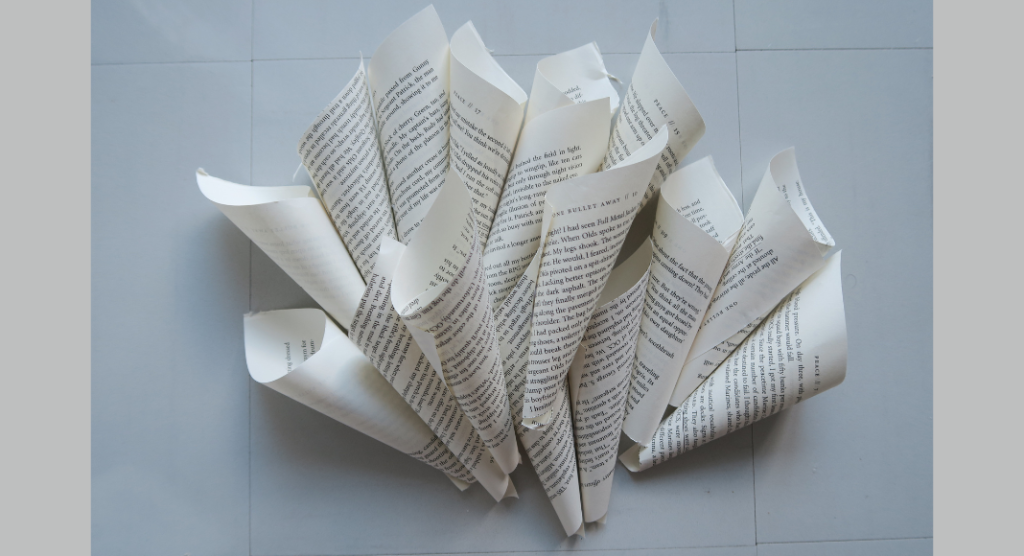
- Now hot glue the paper cones onto the back of the turkey so they fan out like realistic tail feathers.
- Take the turkey head template and cut along the outline with scissors, and glue the inner sides together. If you have white card stock paper, you can glue that in between the turkey head template to make it more sturdy.
- Next insert the turkey head into the center folds of your book. And now you officially have a handmade turkey.
Optional: if you want to complete the look, you can cut out paper leaves in red, orange, yellow, and brown and leave it around the base of your turkey to give it more of a pop of color.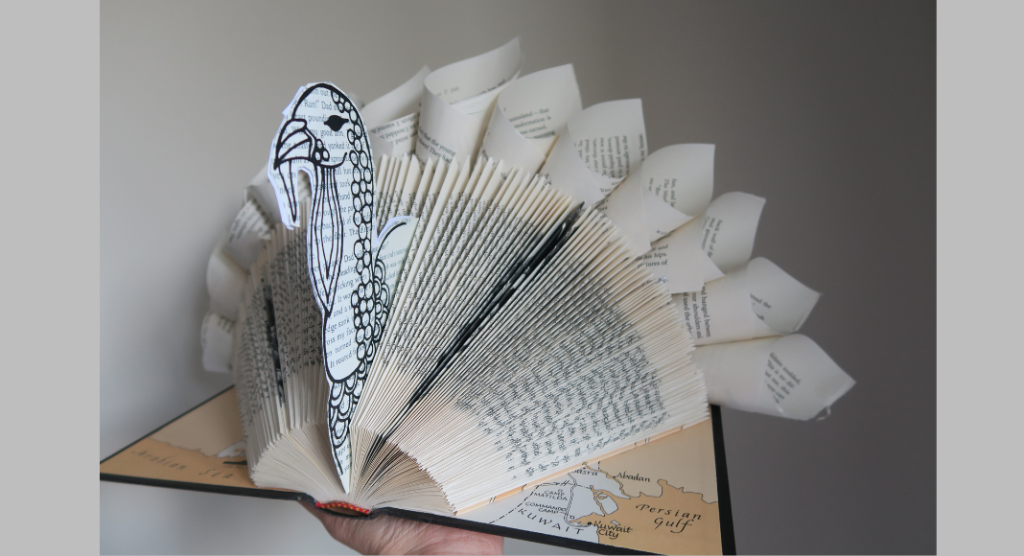
Ta-da! And there you have it. A beautiful handcrafted book folded turkey ready to be used as a fun conversation starter at your Thanksgiving gathering! Upcycling these well loved books into seasonal decor is not only eco-friendly and affordable, but it also creates unique handmade keepsakes you can display year after year.
Hope you have a Happy Thanksgiving.
Check out Military Mom Collective website to try out more crafty DIY projects!